Today's Tangram-esque Heart Puzzle Tutorial comes to us from Jen of
An Evergrowing List. Jen is my first guest blogger, so please make her feel welcome :)
Take it away Jen!
. . . . . .
I have had this on my
pinterest for awhile now but haven’t gotten the time to make it happen. With Valentine’s Day coming up fast I figured I’d make a heart version first.
After browsing the internet a bit without coming up with anything I liked I made my own pattern (and a tutorial for you). This project can be done very simply with no sewing or a bit more complexly with some sewing involved. Choose your own adventure!
Materials:
red felt (or a color of your choice)
scissors
chalk
sewing machine (if sewing)
red thread (if sewing)
Directions:
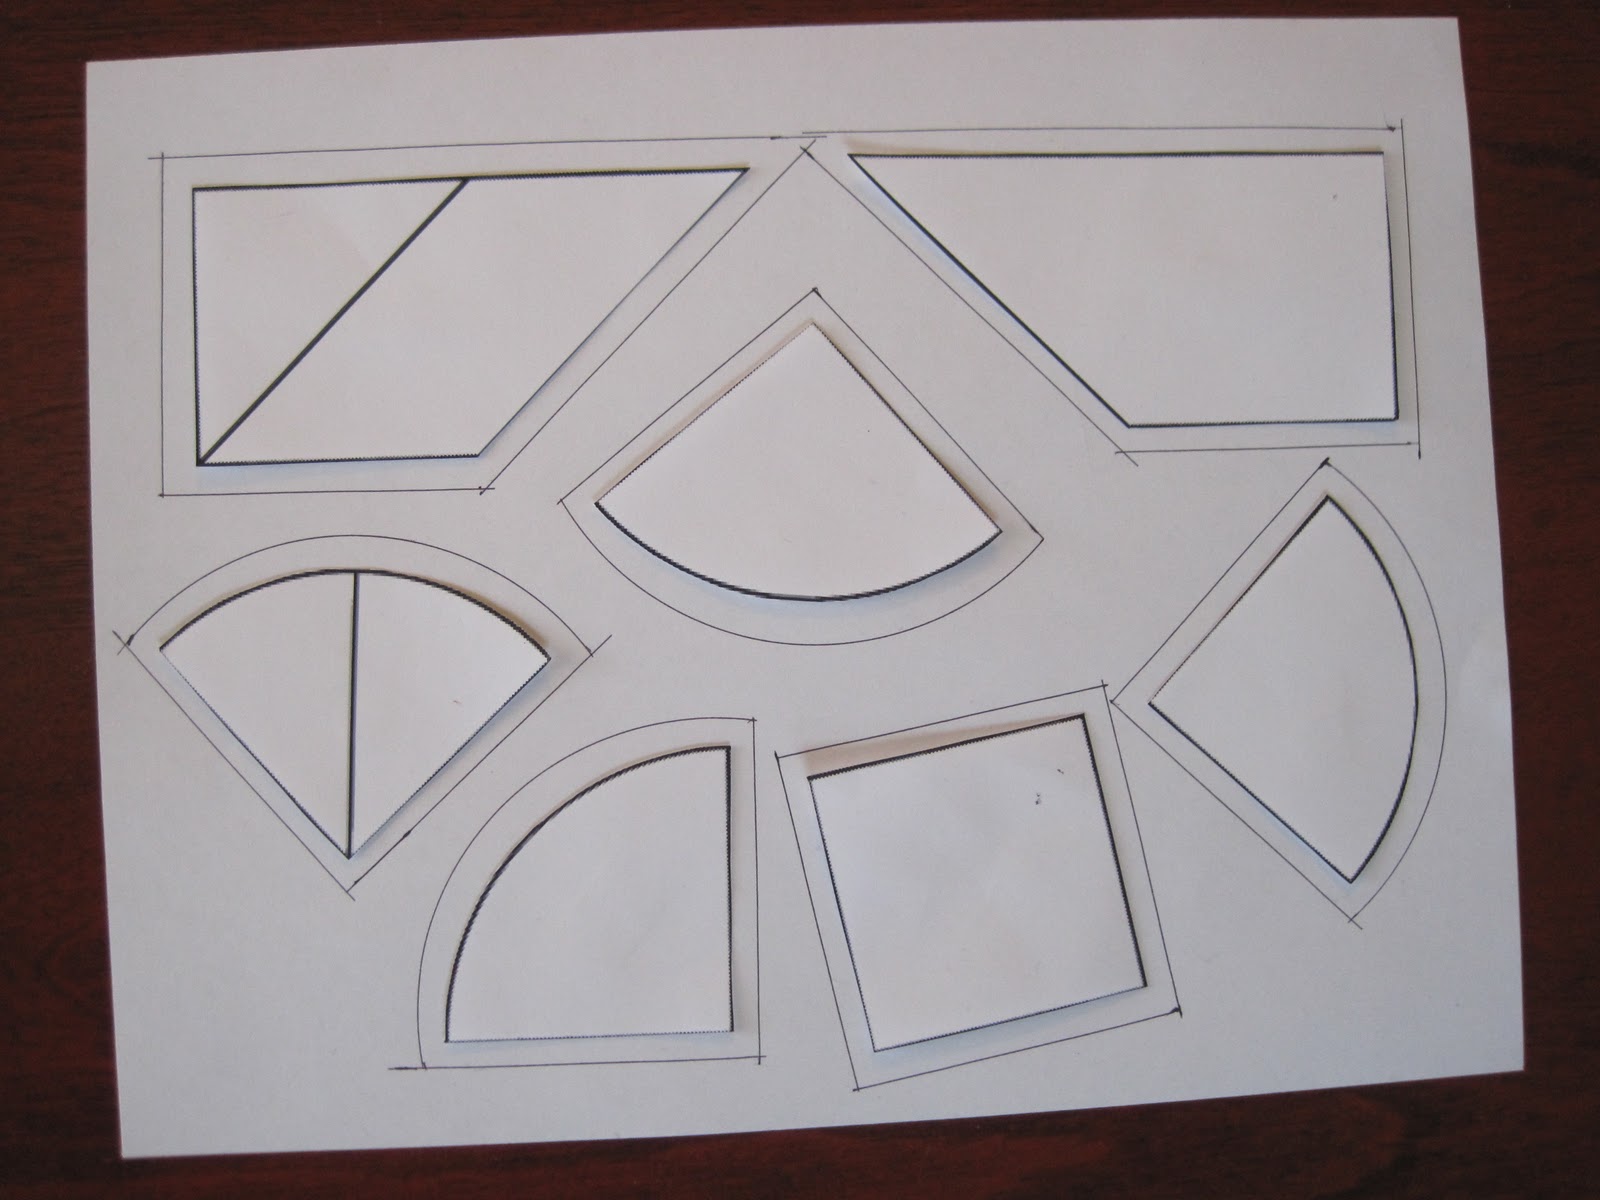
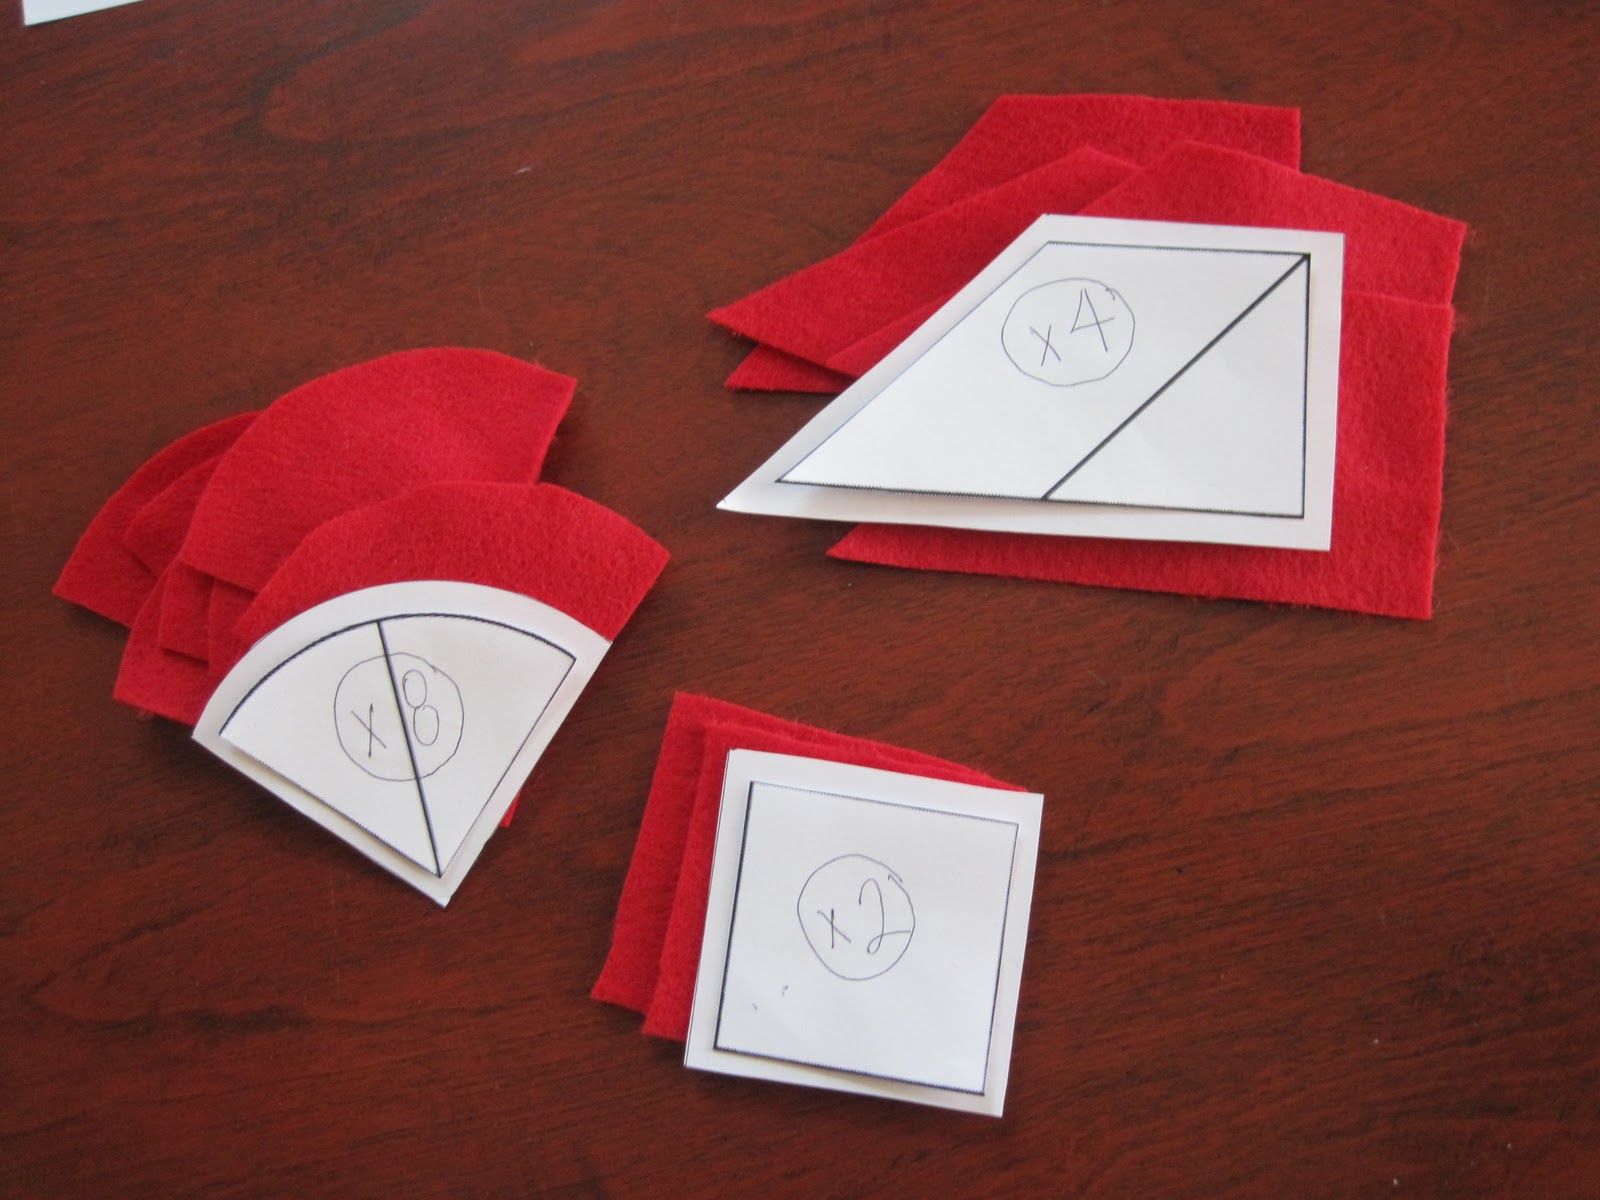
Print out the pattern. You can enlarge it or make it smaller depending on your wants and needs.
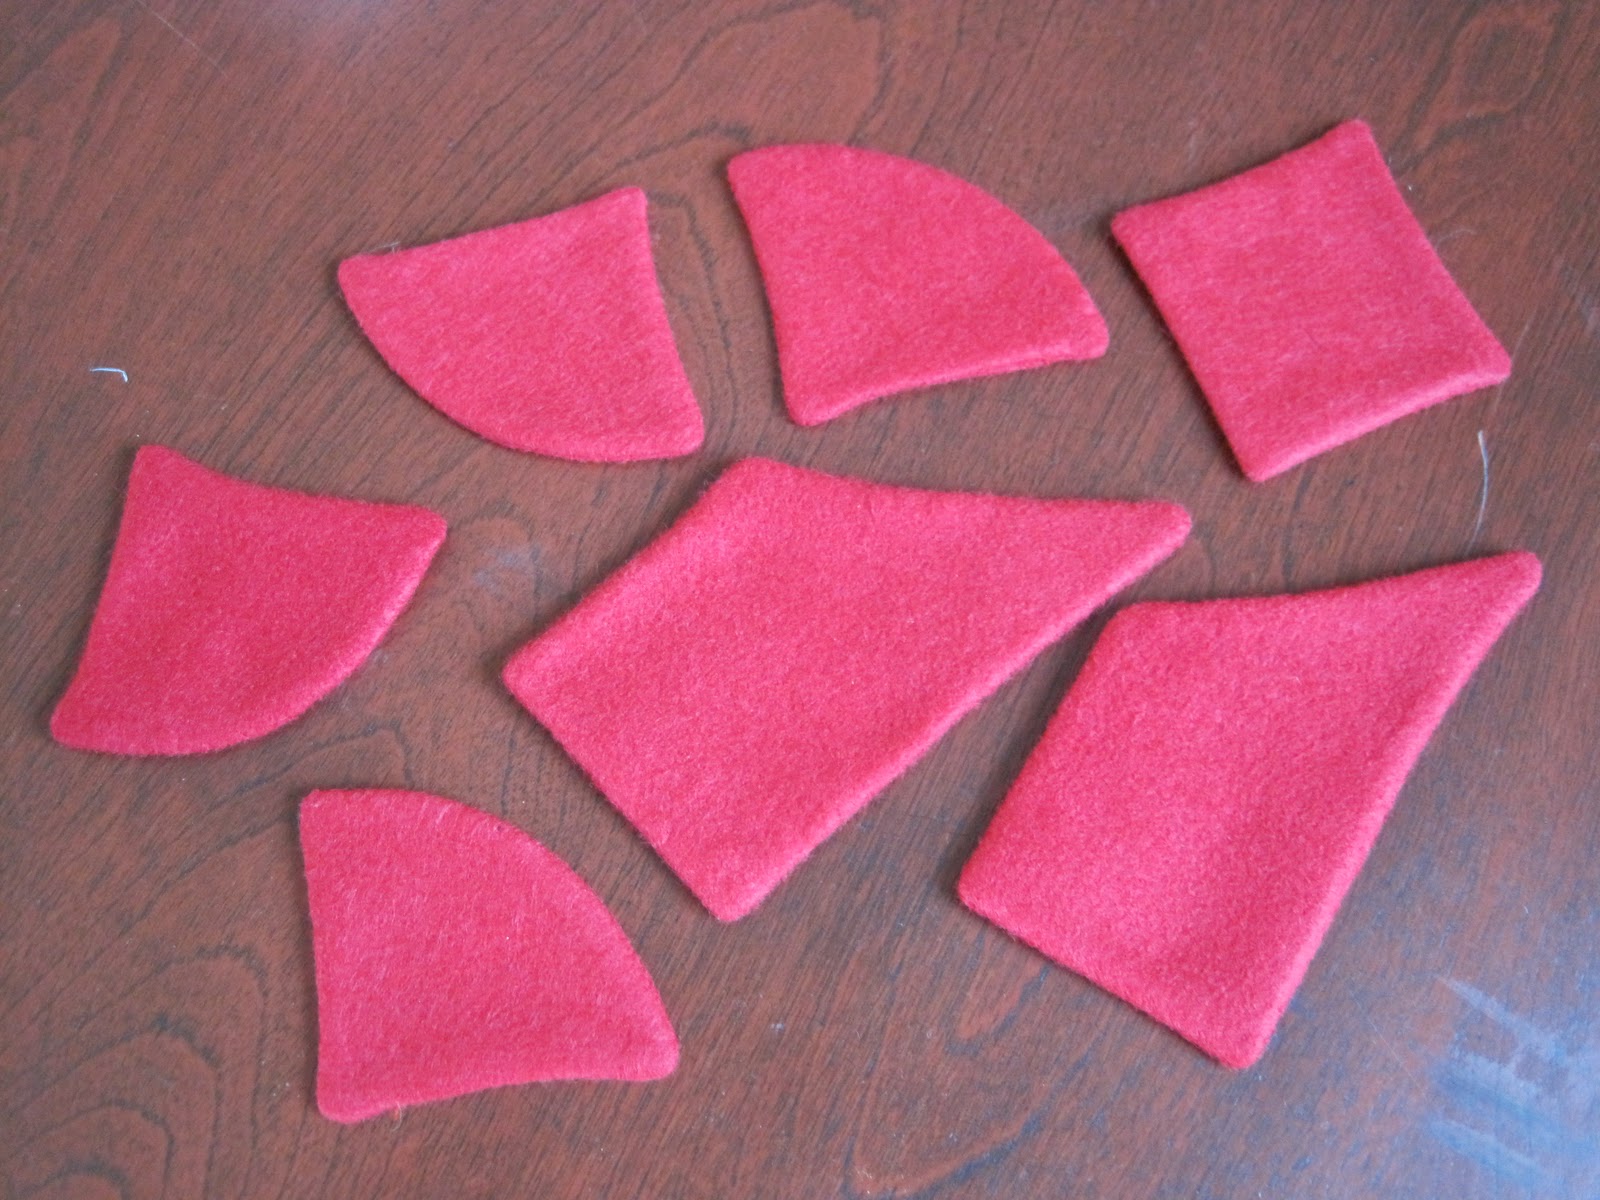
I made a sewing allowance around each piece only to realize later it wasn’t necessary. Oops! You can see in this picture the pieces I end up combining.
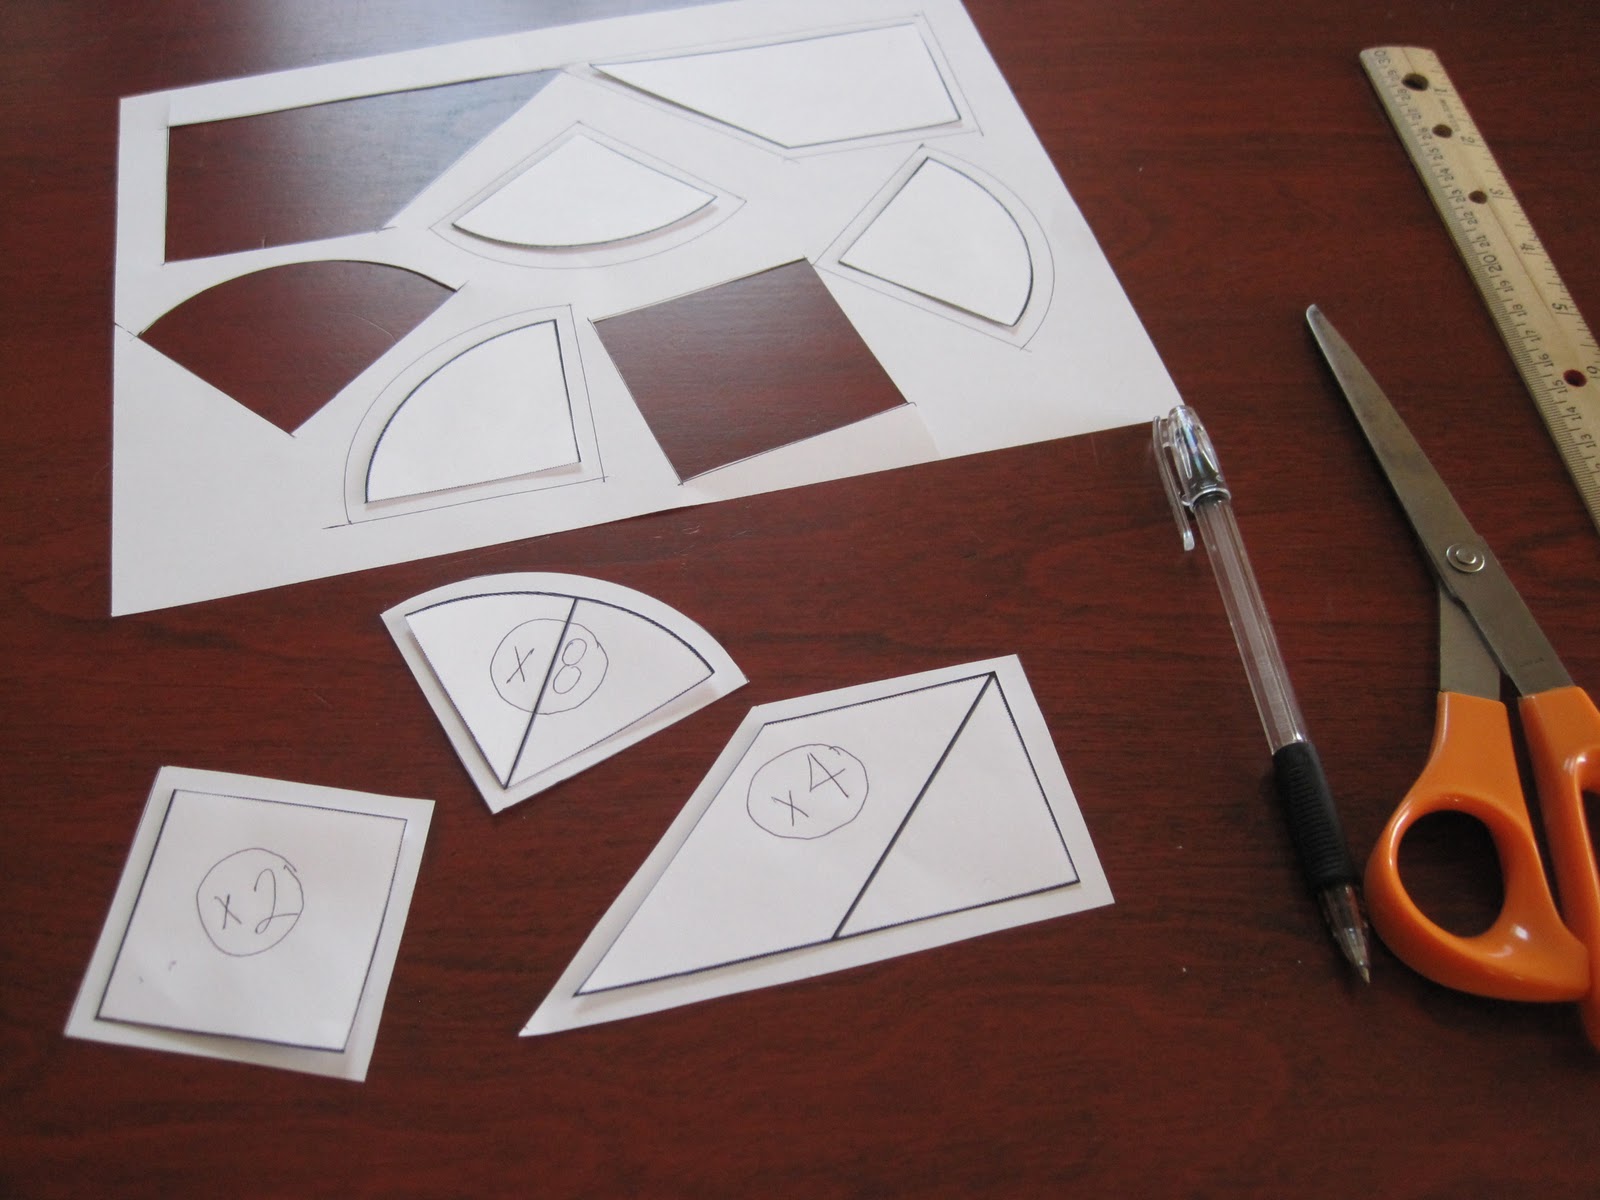
Cut out the pieces. I ended up combining some of the smaller pieces to make it easier for myself to make and my son to solve (he’s 3). You can do the same or keep it the way it is.
I realized here that I only needed to cut out one of each shape since some of them repeated. I made sure to write on the pattern how many I would need of each piece. Since I sewed mine I made 2 of each pattern piece.
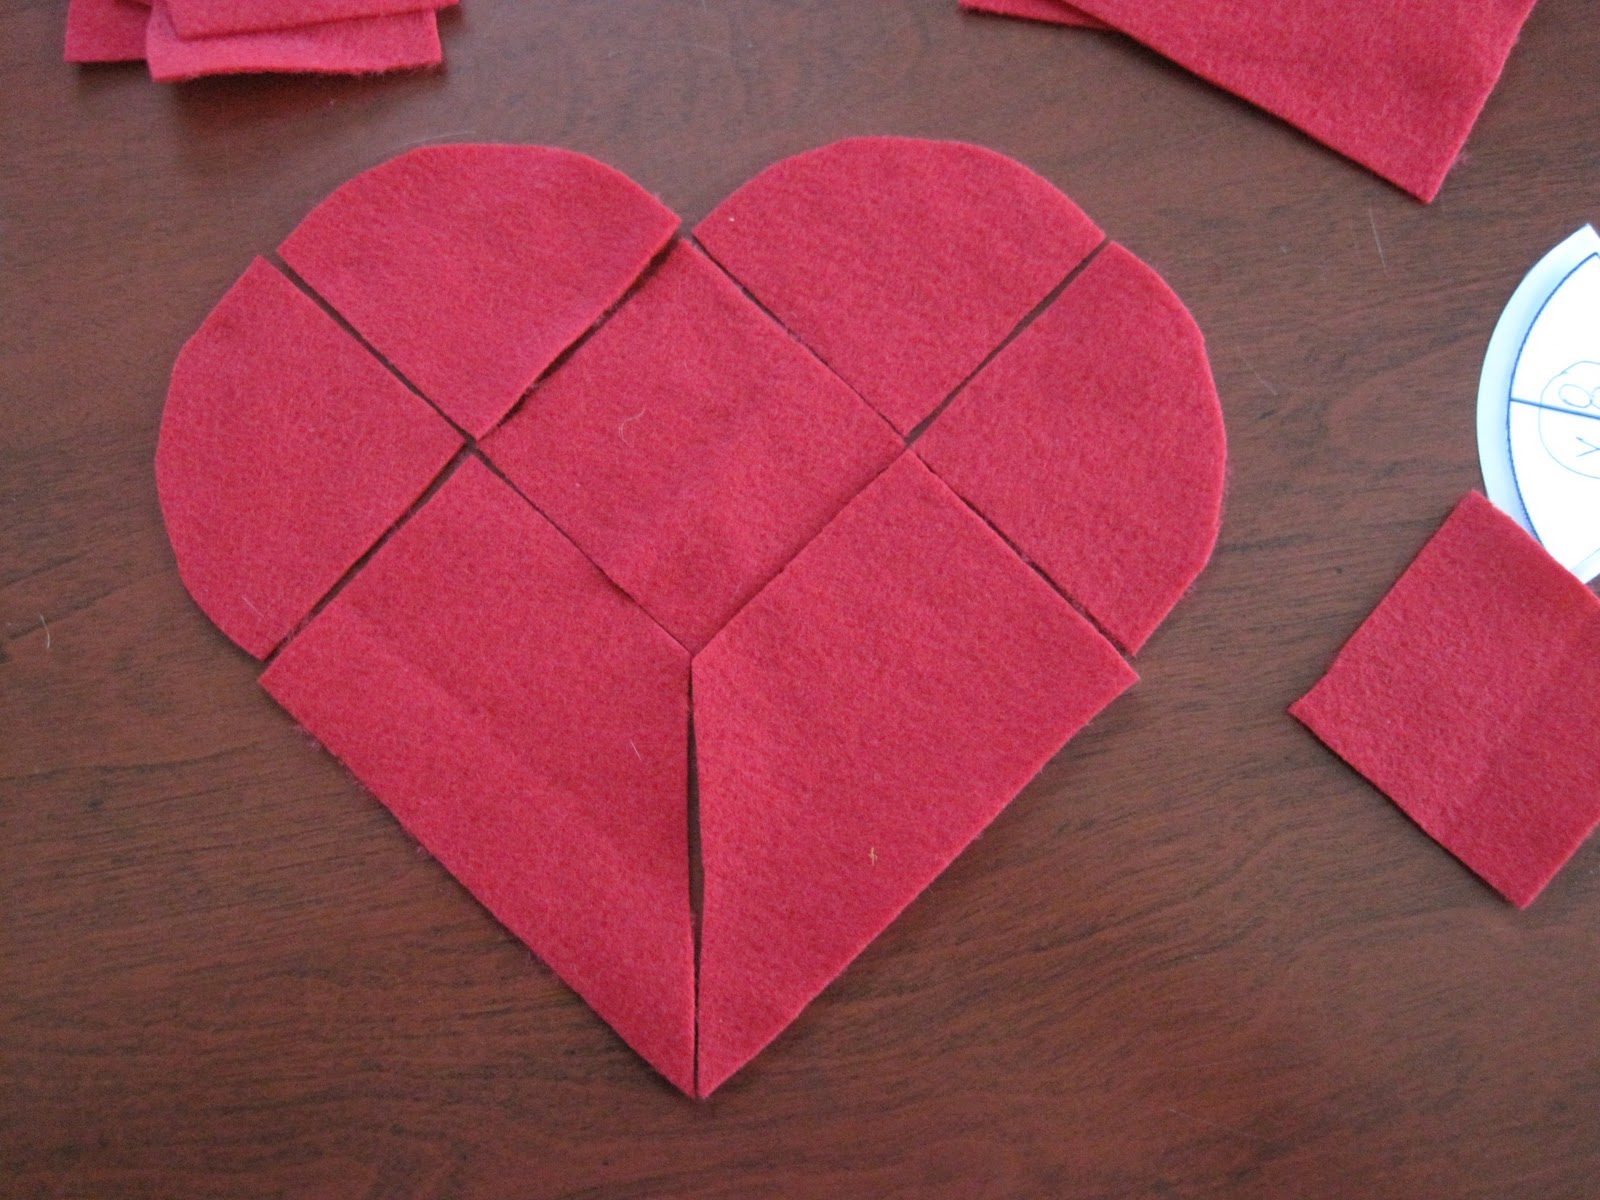
Using the pattern pieces as a guide, trace around each piece with chalk onto your felt. If you plan on sewing the pieces make two of each piece to sew together. Cut out all the pieces from the felt.
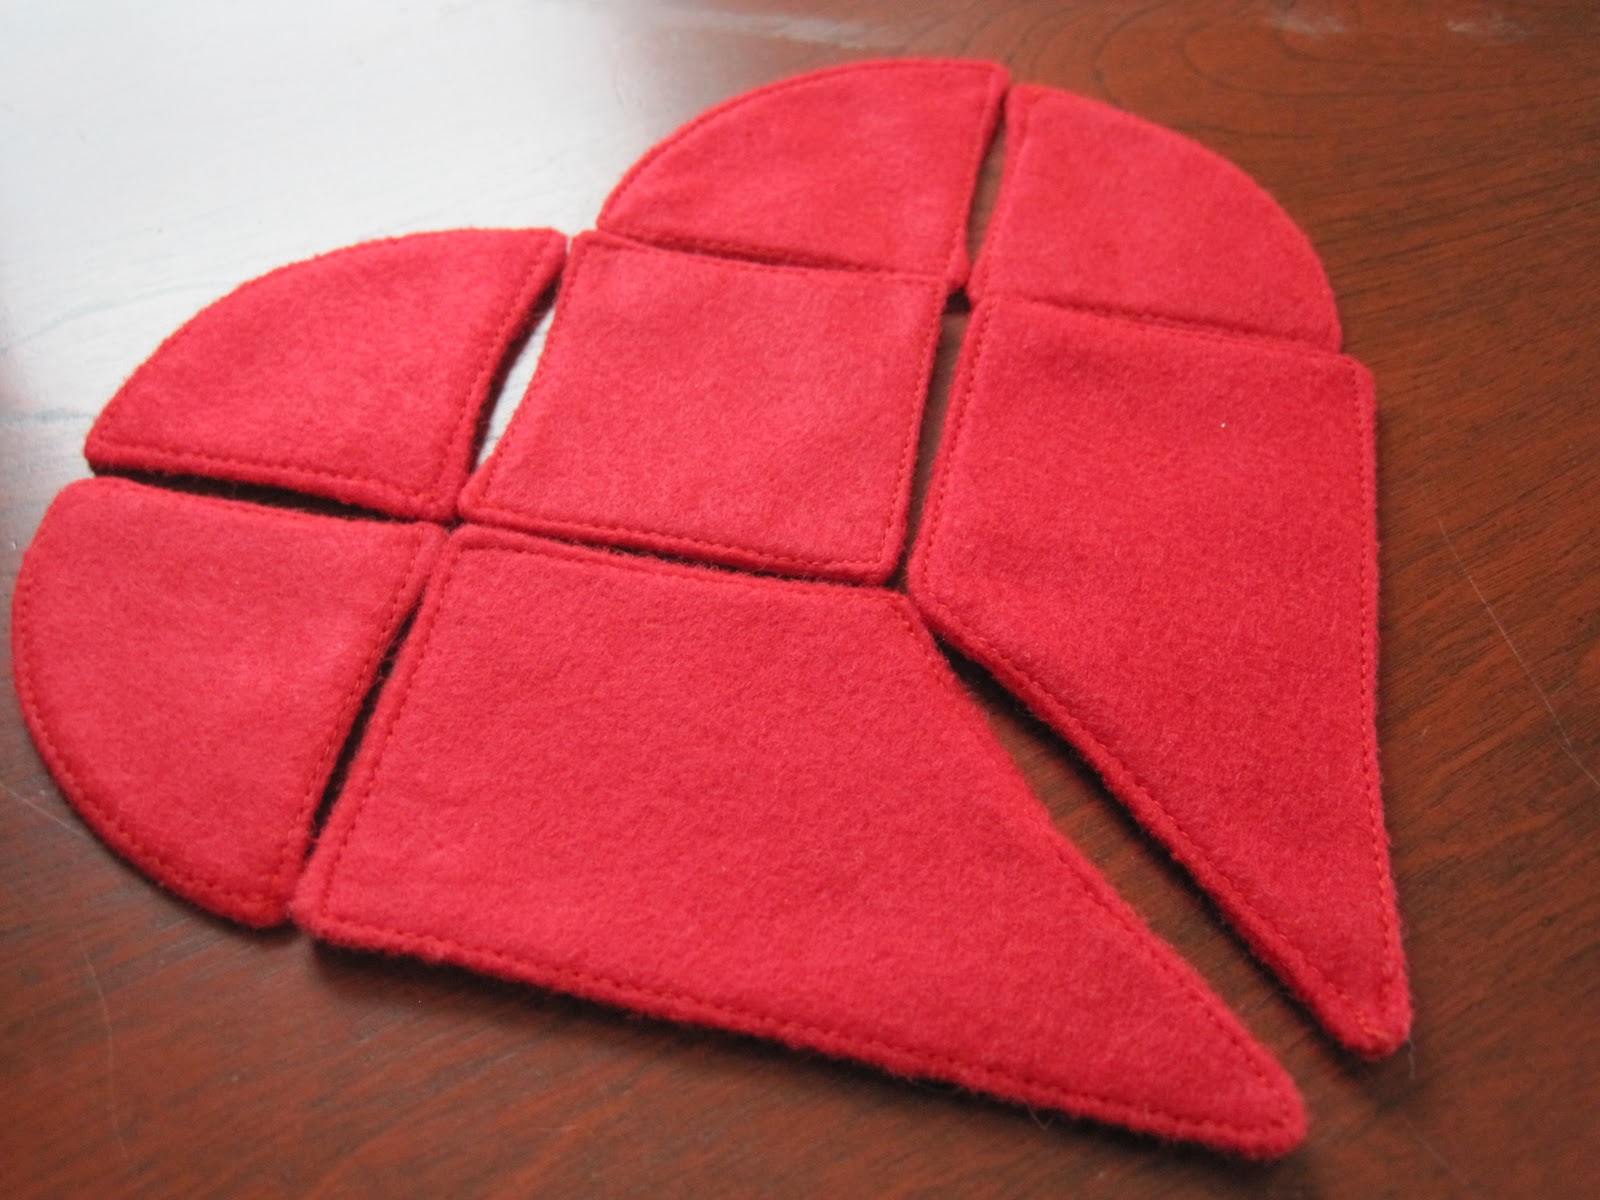
If you don’t plan on sewing you’re done! Put the pieces together in their heart shape and enjoy.
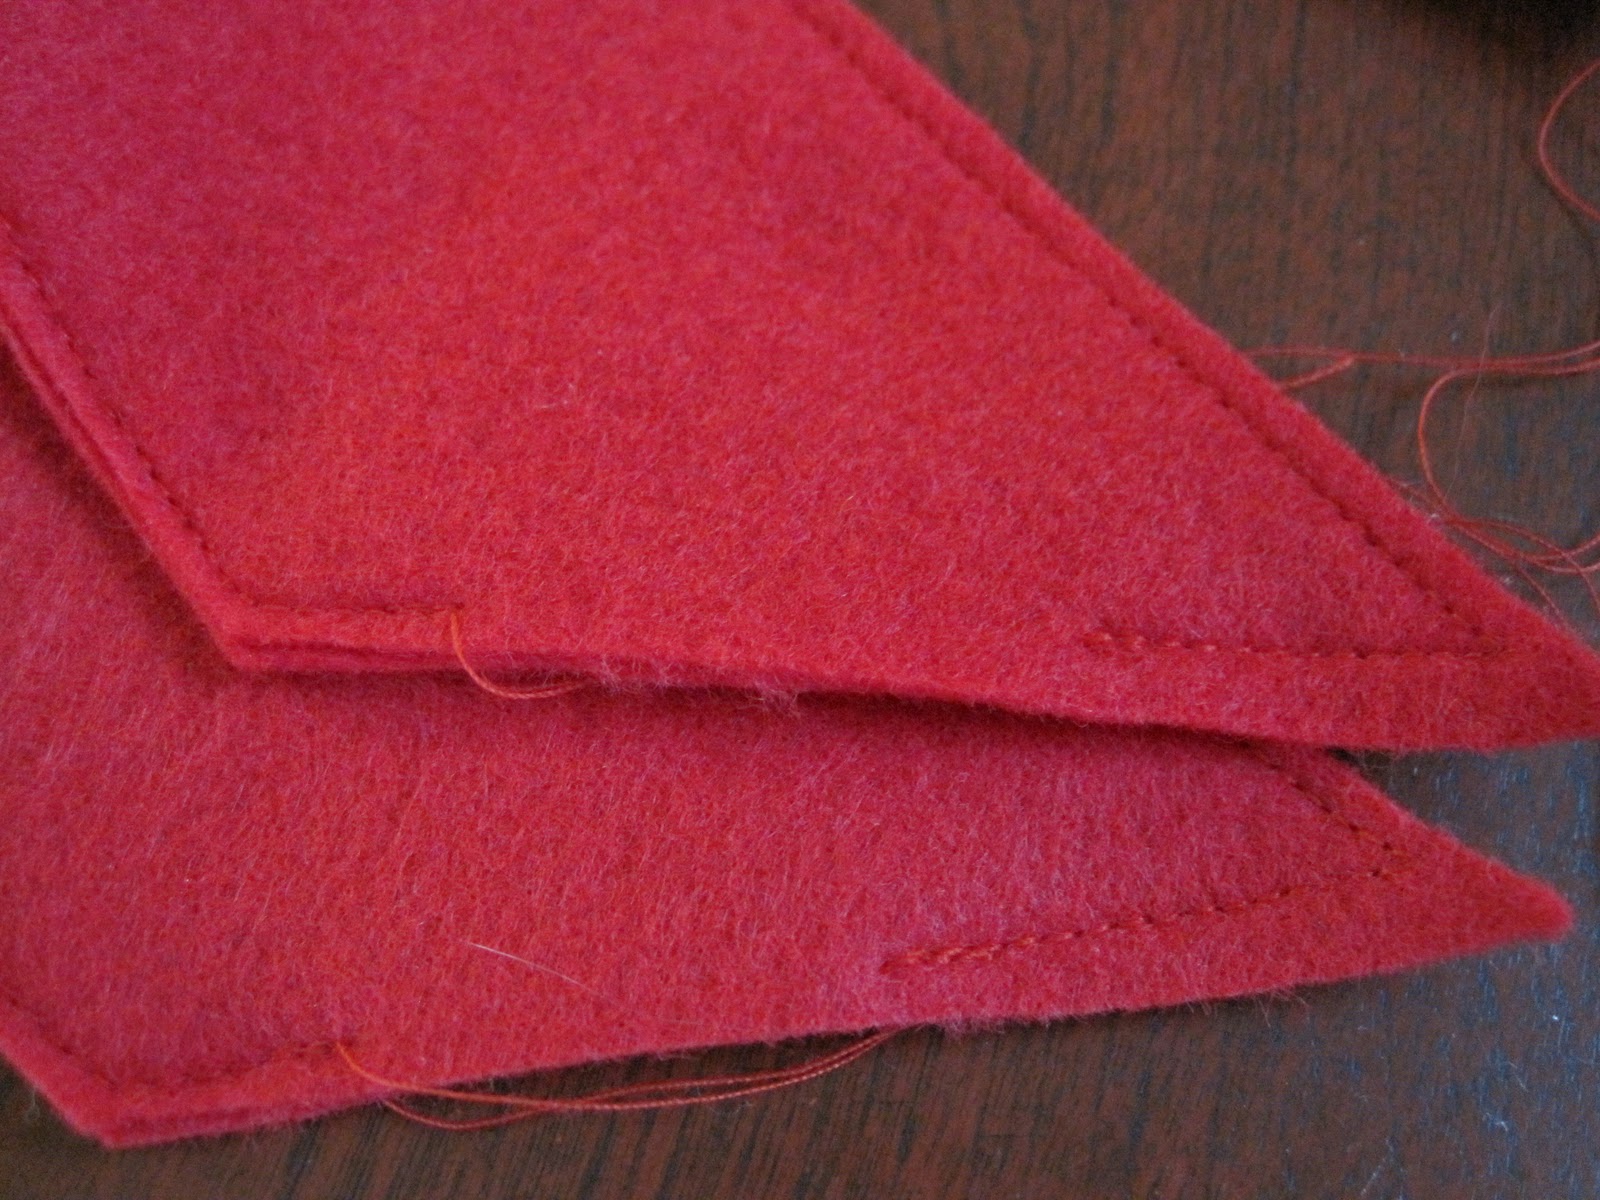
If you plan on sewing match each of the pieces into pairs. Sew almost around each shape leaving room to turn them inside out.
You can see here how much room I left to flip the pieces inside out.
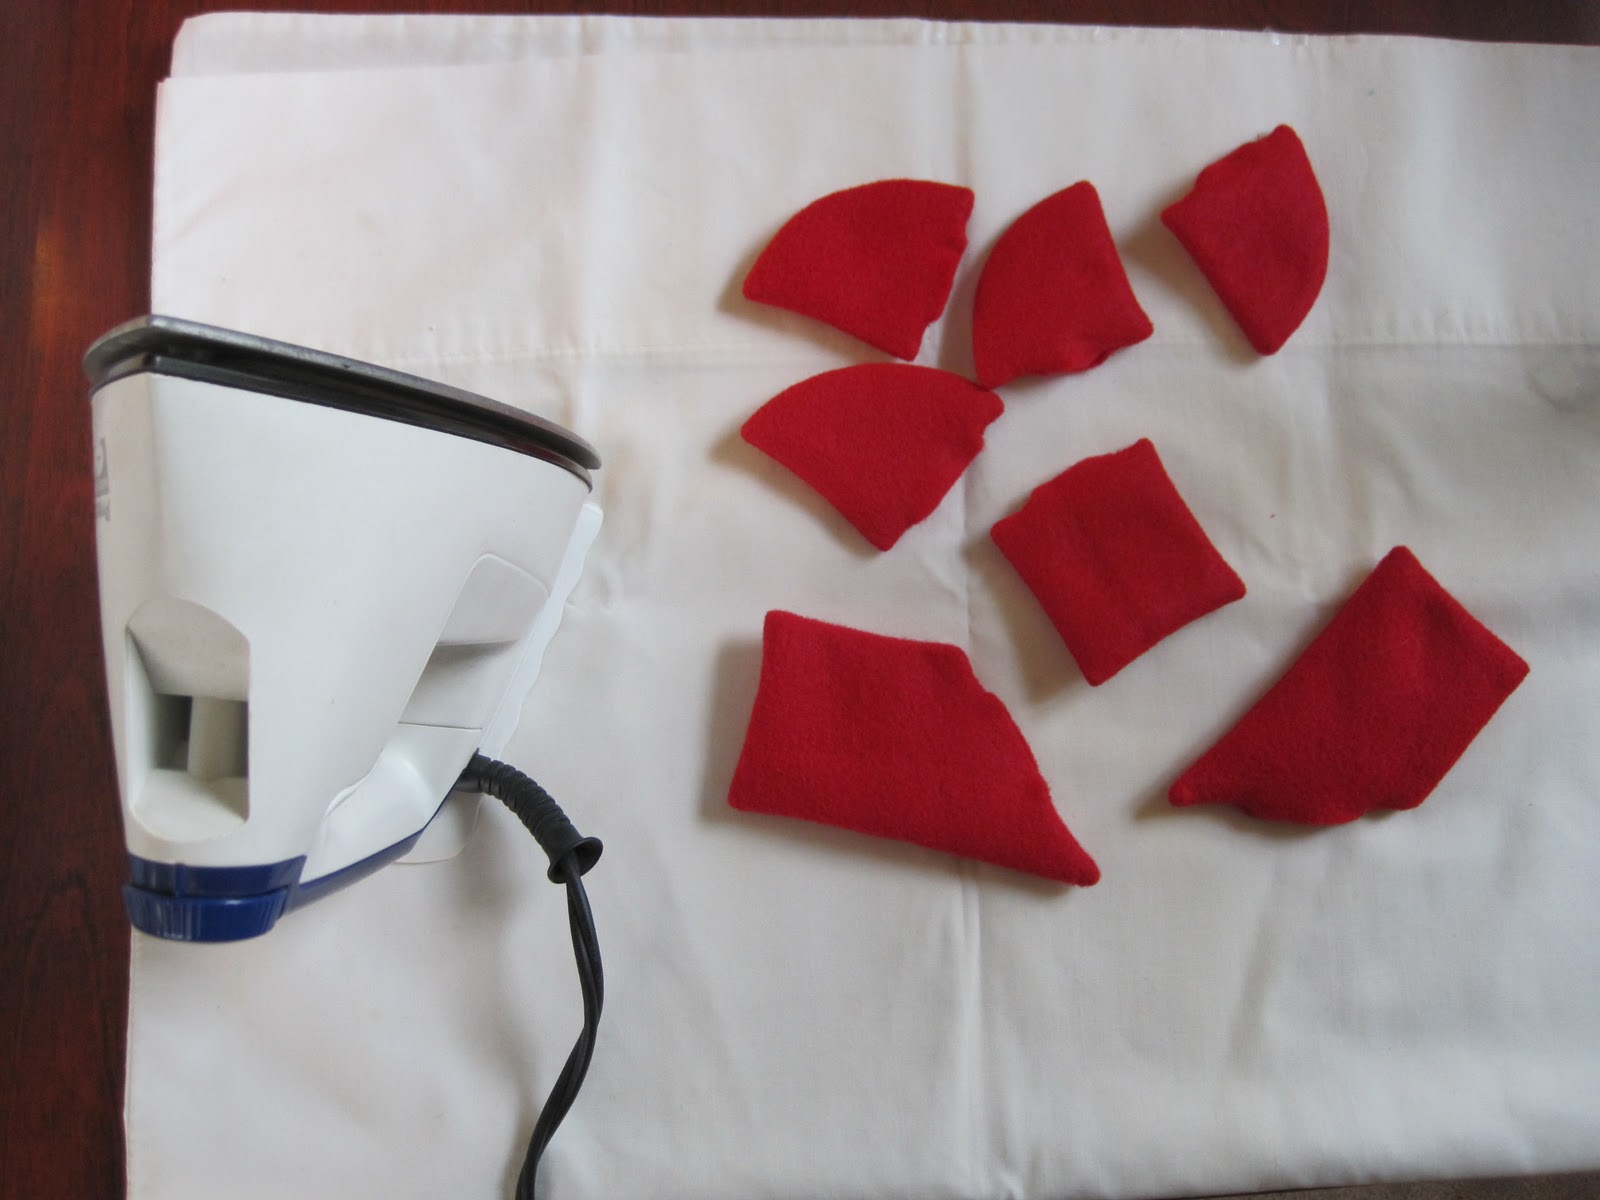
Flip each piece inside out using a chopstick or pencil to push out the corners. Iron each piece on the polyester setting to insure your felt doesn’t stick to the iron.
Sew all the way around each piece or close the pieces with a blind stitch. You’re finished!
My son has really enjoyed trying to make the heart puzzle as well as making other shapes with the pieces. I hope you enjoyed my tutorial and come check out more at my blog,
An Evergrowing List!


